Driveway Do-Over: What to Expect When You Replace Your Concrete Driveway
What to expect during a concrete driveway replacement
Your driveway works harder than you probably give it credit for. Day after day, it carries the weight of your car, takes a beating from Michigan’s freeze-thaw cycles, and still tries to look presentable. Most of the time, you don’t think twice about it—until cracks spread, sections dip, or pulling in starts to feel rough.
For many homeowners in Holland, Michigan, that wear eventually adds up. Upgrading a concrete driveway goes far beyond simply enhancing your home’s exterior. It’s about safety, convenience, and protecting your home’s value. The good news? The process isn’t nearly as overwhelming as it sounds once you know what’s coming.
Follow along as we break down the concrete driveway replacement process, step by step, so you know exactly what’s happening at every stage.
Step 1: The Initial Assessment
Every project starts with a good look at what’s already there. Your contractor checks for deep cracks, uneven slabs, drainage problems, and signs the driveway is sinking or shifting. In West Michigan, drainage matters a lot. Poor water flow is one of the fastest ways to ruin concrete.
This is also your time to talk ideas. Want to widen the driveway? Add a curve? Improve how water runs off? Think of this step as a planning conversation, not just an inspection. It forms the foundation upon which everything else is built.
Step 2: Planning & Estimates
Next comes the estimate and timeline. Here's when things start to click—and honestly, it sparks a bit of excitement.
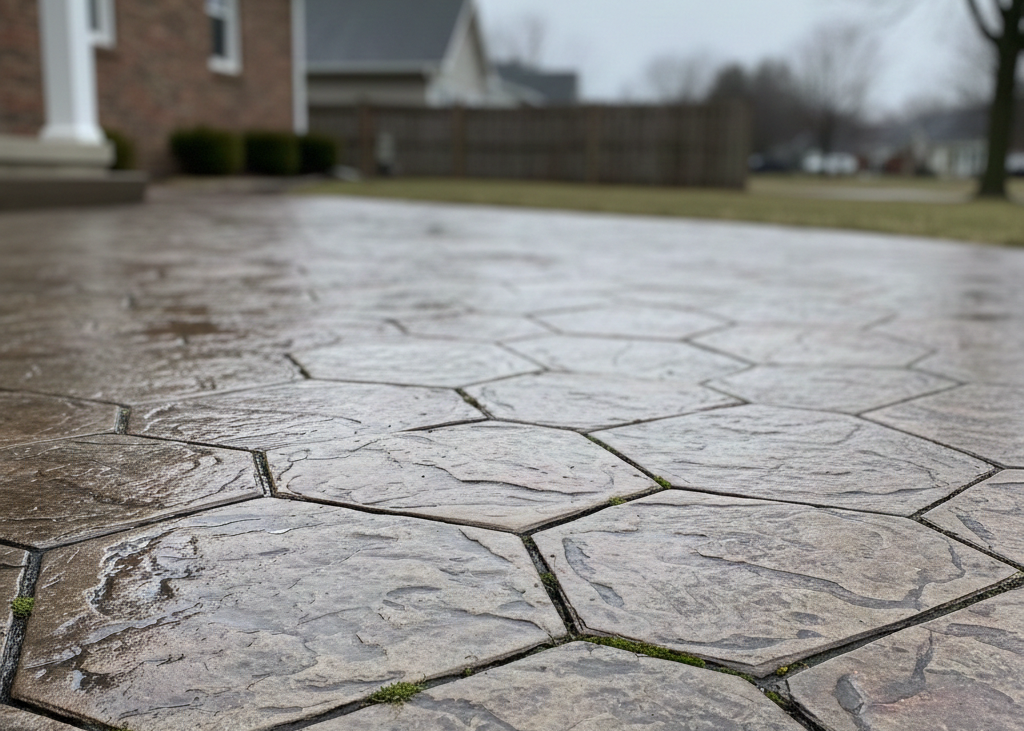
You’ll lock in design details like the finish, texture, and edges. Maybe you prefer a classic broom finish. Maybe you want something smoother or more decorative. Small choices here shape how your driveway looks and feels every single day.
Timing matters too. Unstable weather along the lakeshore can interfere, and concrete only cures well under suitable conditions. A reliable contractor plans around the forecast so your driveway lasts, not just looks good on day one.
Step 3: Ready Your Property
Taking a bit of time to prep beforehand ensures everything goes smoothly when demolition starts. Move vehicles, clear the driveway, and relocate nearby items like planters or basketball hoops. Most crews protect landscaping, but keeping kids and pets out of the work area helps everyone stay safe.
Behind the scenes, the crew marks utilities, double-checks measurements, and gets the site ready for removal.
Step 4: Demolition Day
This is the noisy, dusty part. Jackhammers break up the old concrete, and trucks haul it away. For a brief while, it’s disorderly—but it’s also where growth sparks to life.
Most driveways are removed in a day or two. And while it’s temporarily inconvenient, there’s something satisfying about watching years of cracks and dips disappear.
Step 5: Laying the Foundation
Once the old concrete is gone, the real work begins underneath. The crew excavates to the proper depth, installs a compacted gravel base, and carefully grades the surface so water drains away from your home.
You won’t see this part once the job is done, but it’s critical. A strong sub-base is what helps your driveway survive Holland’s tough winters without shifting or cracking.
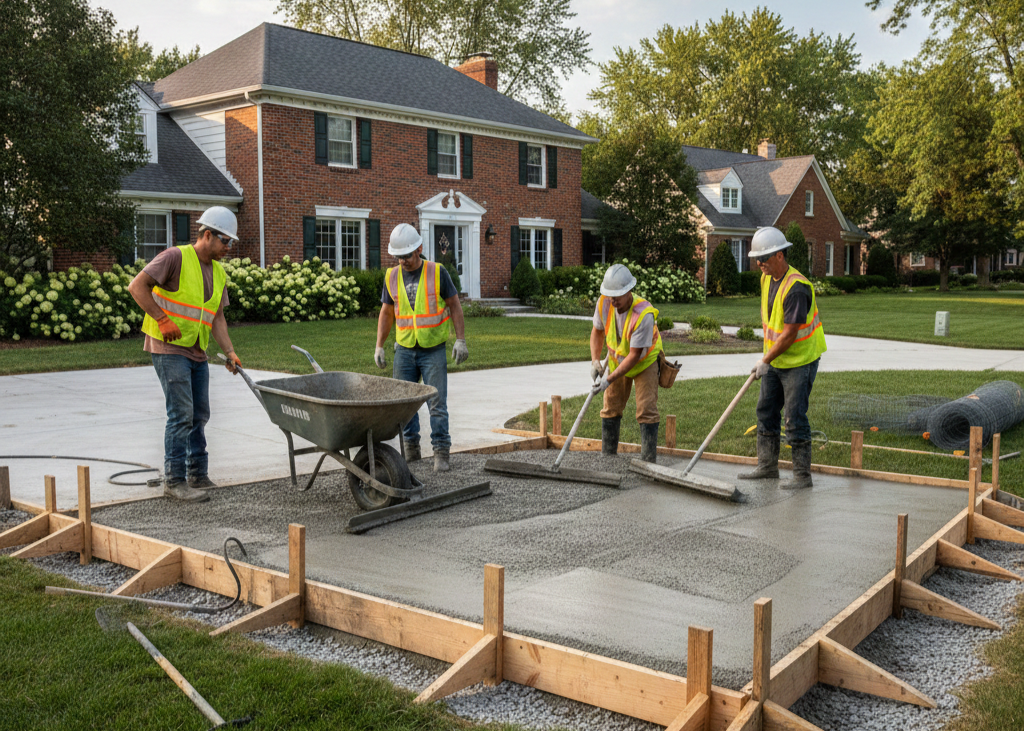
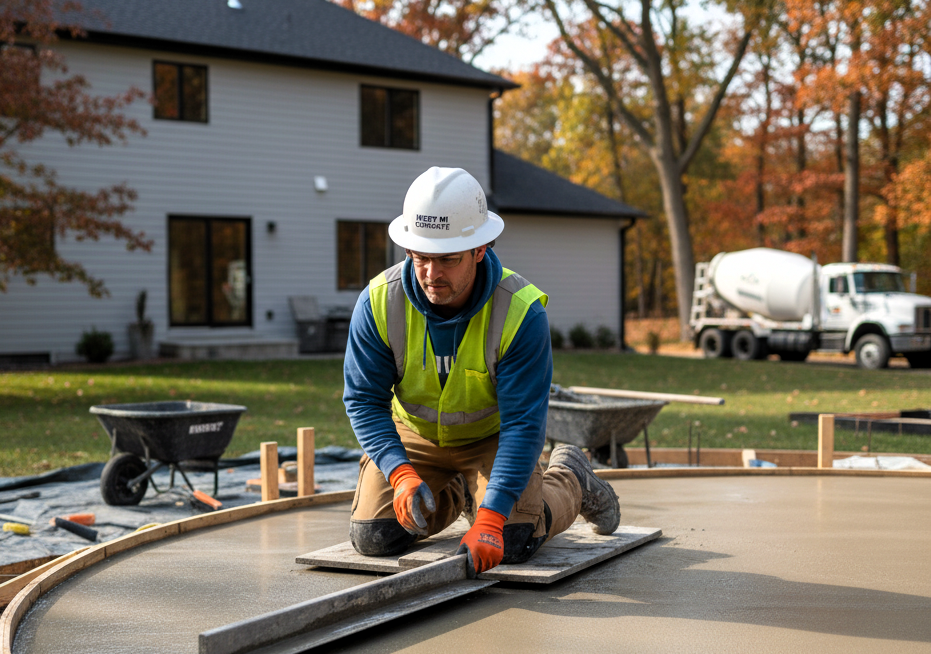
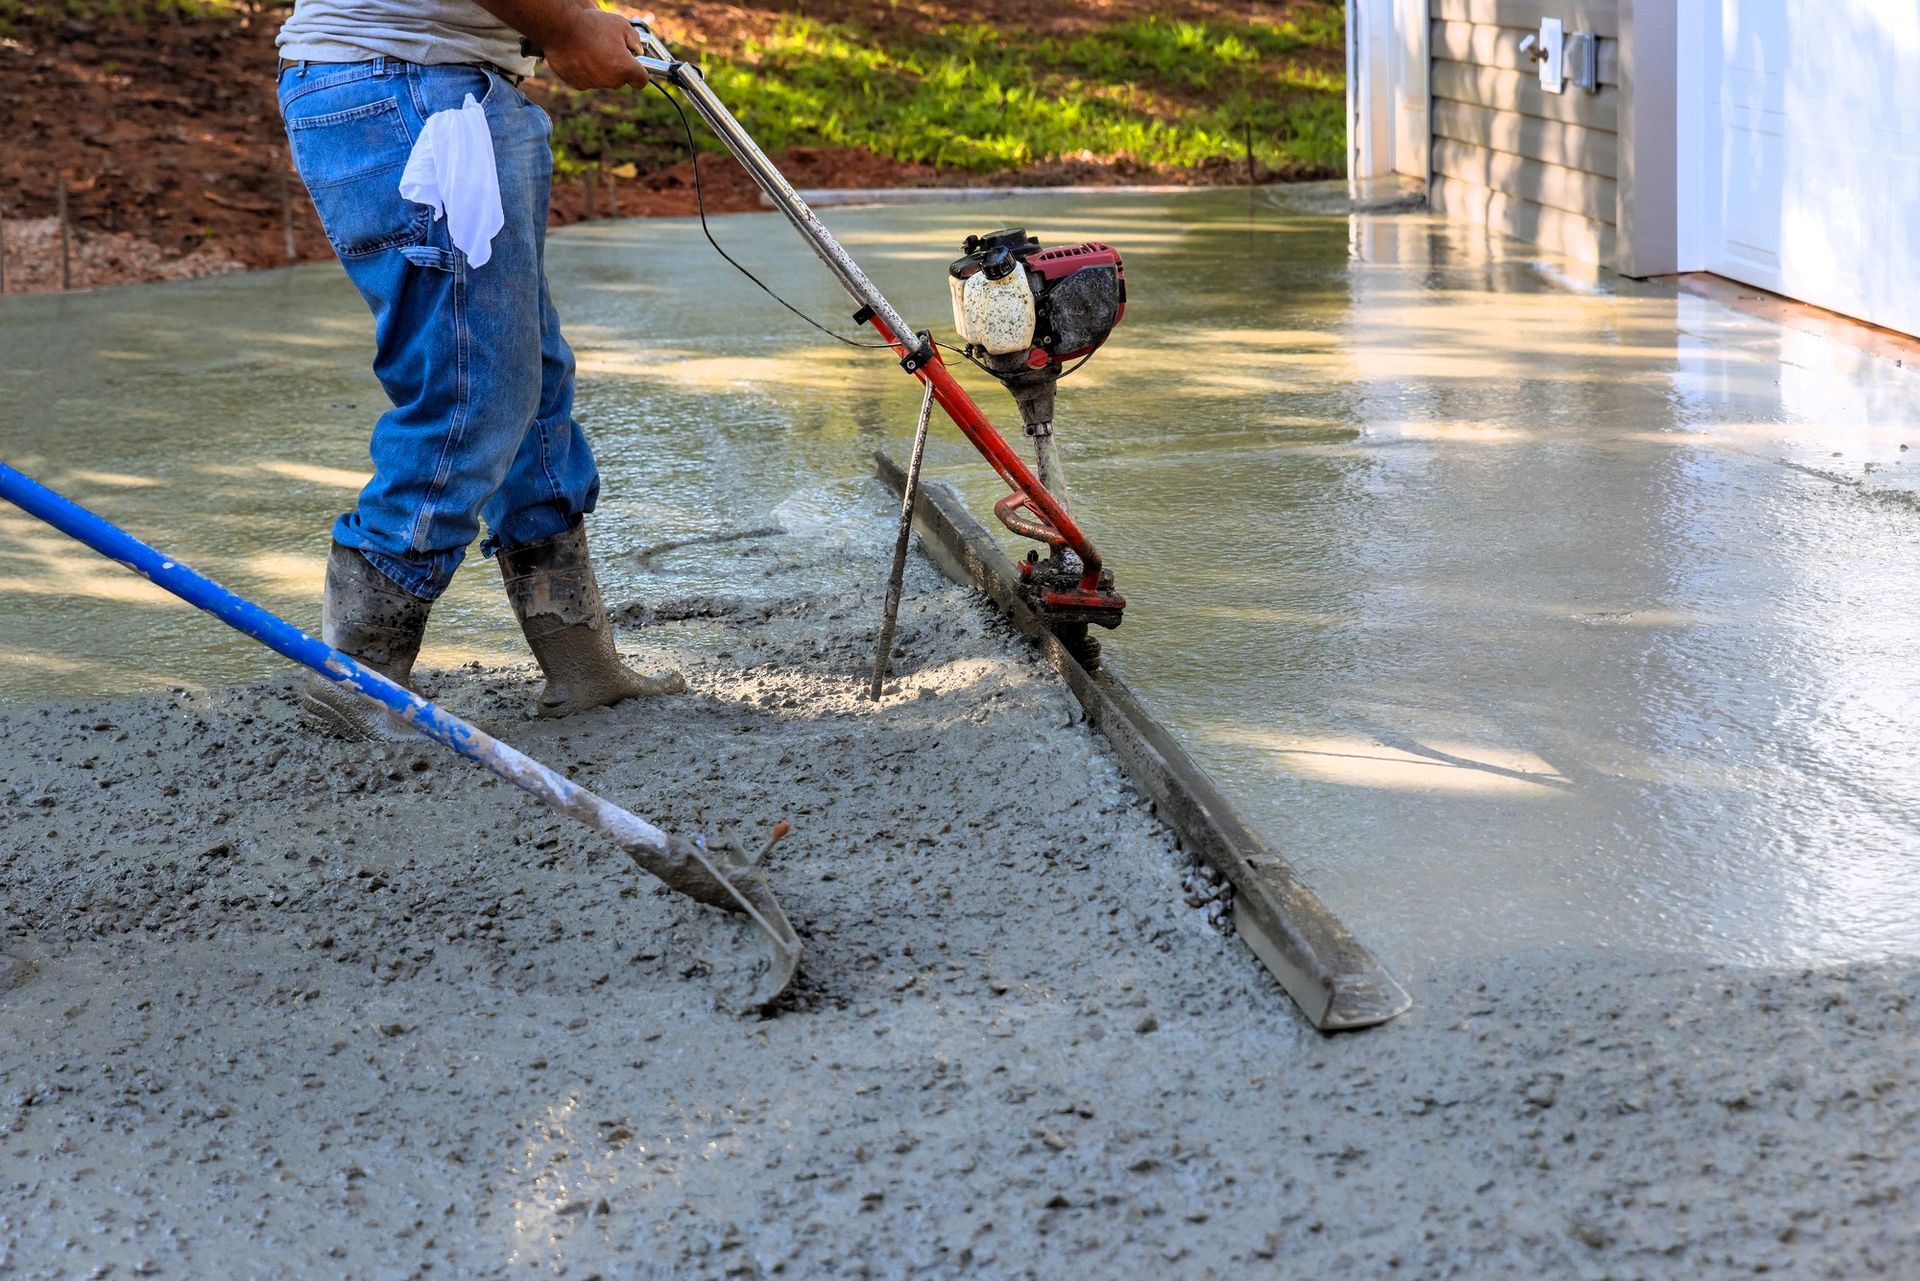
Step 6: Pour Day
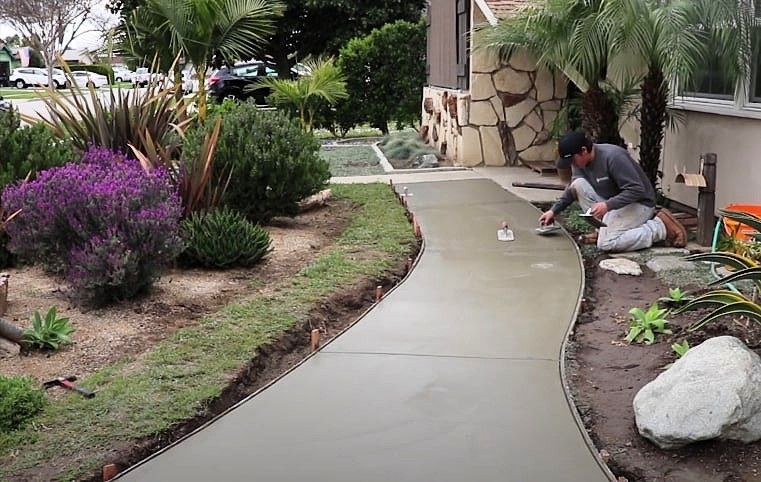
Homeowners often find this the most exciting part to witness. Fresh concrete arrives. Reinforcement like rebar or wire mesh goes in. Following that, the team applies, levels, and polishes the surface.
In just a few hours, your worn-out driveway becomes a smooth, clean slab. Weather permitting, this step usually wraps up in one day. Seeing it come together never gets old.
Step 7: Curing Time
Now begins the true test of patience—waiting as the concrete slowly hardens and gains its full resilience. That means staying off it, avoiding heavy loads, and resisting the urge to park early.
Giving it those extra days pays off. Curing your driveway correctly builds lasting durability, ensuring it stays strong and dependable for everyday use.
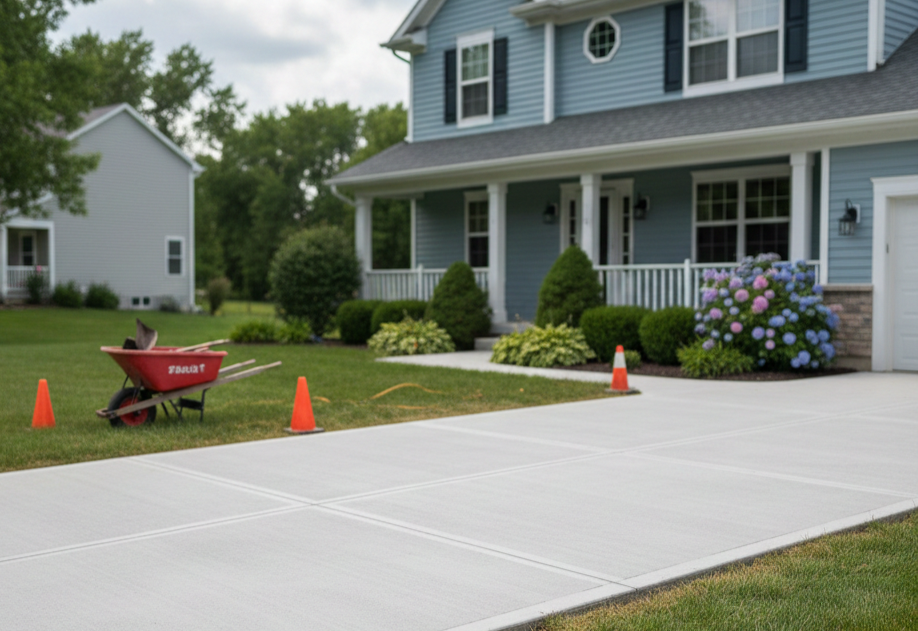
Step 8: Final Touches
After curing, finishing details bring everything together. Textures, borders, sealers, or decorative elements add personality while also protecting the surface from salt, snow, and harsh weather.
This is when the driveway stops feeling like a construction zone and starts feeling like part of your home.
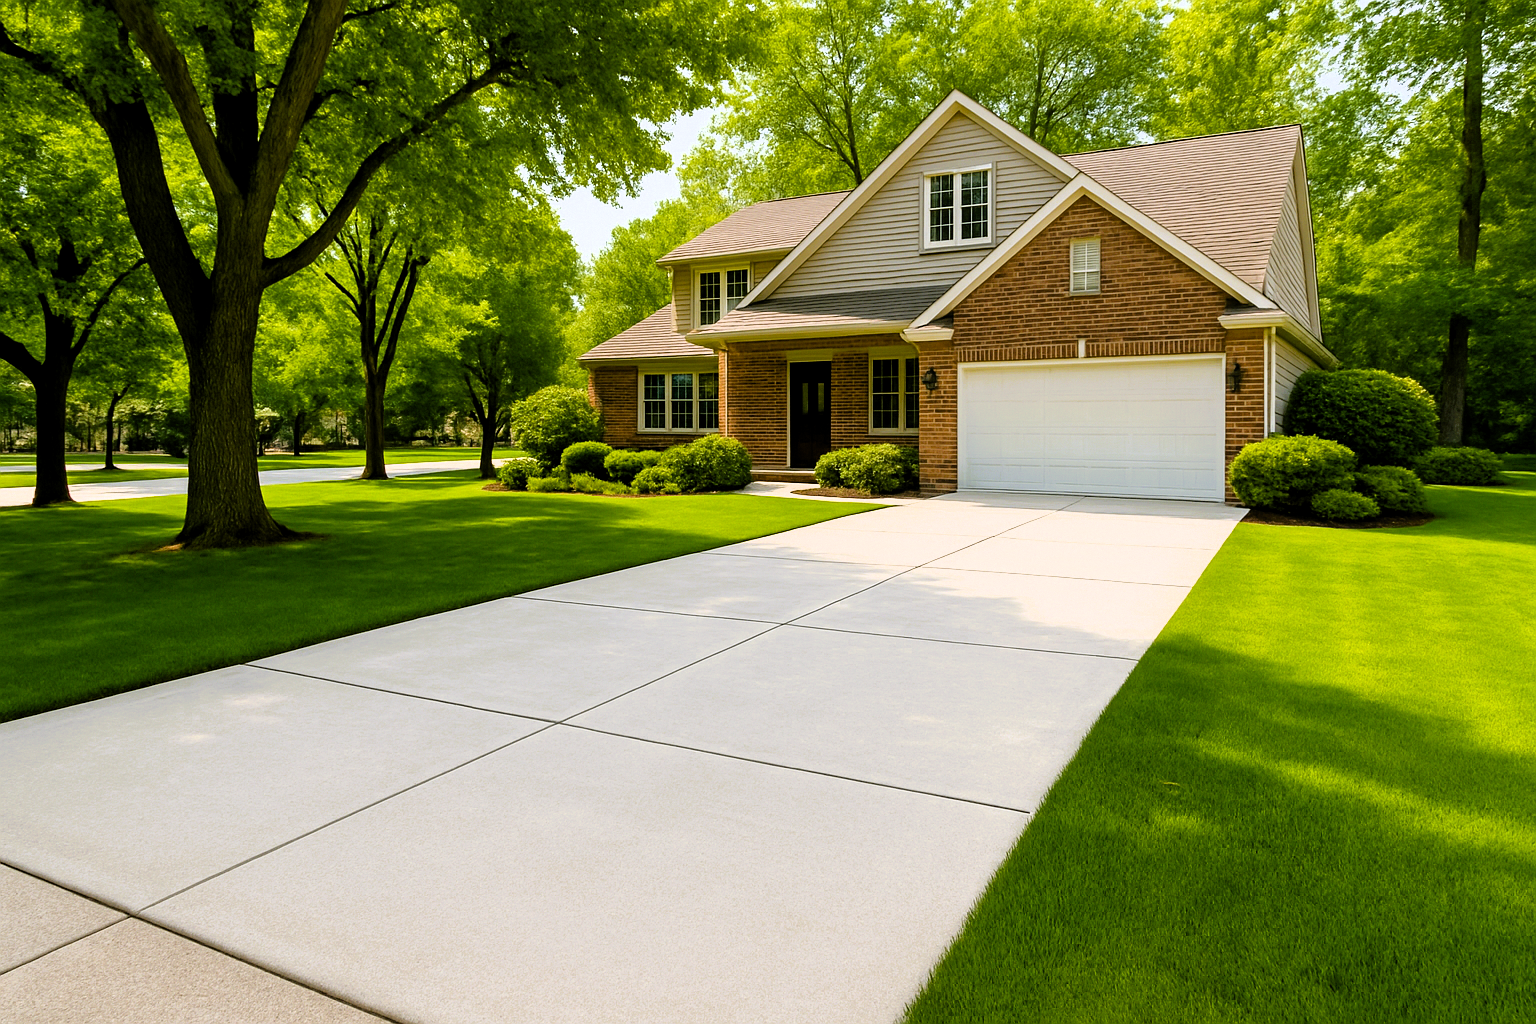
Step 9: Post-Installation Experience
The most immediate change you’ll notice is the seamless performance. No bumps. No dips. Water drains the way it should. Don’t be surprised if you pause to admire it—this is a big upgrade.
Beyond looks, your new driveway handles daily wear with ease and gives your home an instant curb appeal boost.
Step 10: Simple Maintenance for Long-Term Results
Taking care of your new driveway is straightforward. Seal it every few years, shovel carefully in winter, and avoid heavy vehicles early on. Consistent yearly upkeep preserves its strength and ensures it stays beautiful for decades.
Step 11: Cost & Timeline Expectations
For most homeowners in Holland, a typical driveway replacement looks like this:
- Demolition: 1–2 days
- Sub-base preparation: About 1 day
- Pouring and finishing: Usually 1 day
- Curing: 3–7 days, depending on weather
Pricing depends on the project’s dimensions, design complexity, and location factors. Knowing the general timeline helps you plan parking and daily routines without stress.
Ready for Your Driveway Do-Over?
Replacing your driveway doesn’t have to be overwhelming. With clear expectations, smart planning, and an experienced team, your Holland, Michigan driveway can go from cracked and worn to smooth, functional, and built to last.
If you’re ready to upgrade,
reach out
to Holland Custom Concrete for a free estimate. We’ll take care of the hard work so you can enjoy a driveway you’re proud to pull into—without the hassle.